Showing posts with label boxes. Show all posts

Monday, October 3, 2011

Art Philosophy Boxes

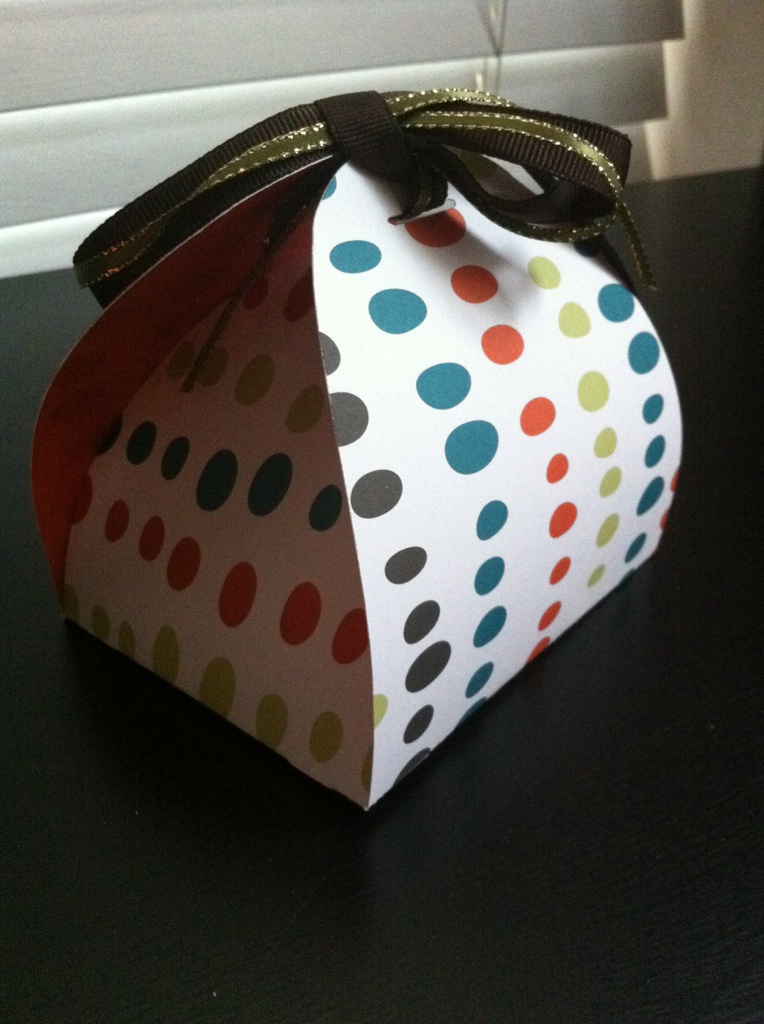
While going thru my Art Philosophy cartridge looking for a project to do for an upcoming blog hop, I decided to play with a few of the boxes that are offered in the cart.  Here are the ones I cut out.
The paper used is from American Crafts, Bookshelf is the oval-dotted one and Amplified is the multi-colored striped one.  Each box was cut at "fit to page" which ended up being 11.5" or 11.75".

Below, is the box you can find on page 24 of the handbook using the "shift", "font layer" and "square6/ dragonfly" keys.

The next 2 pics are of the box found on page25 of the handbook.  Again, you will use the "shift", "font layer" and "rectangle4/star2" keys to cut this out.


This next pic happens to be of my favorite box so far!  I believe it's called a "Gable Box", but I could be wrong.  This one is found on page 22 of the handbook using the "shift", "font layer" and "oval1/snowflake1" keys.  This box has 2 openings: exterior ones have the ribbon pulled thru and tied, the interior one has a set of flaps that interlock. Too cute! I may be using this particular box for my handmade truffles.

Here is a picture of the "Gable Box" opened. You can see the notches for interlocking the interior flaps into place.  Cute, right? I am loving this cartridge more and more!


When I get a little more time, I will add the other 6 boxes onto this blog.  Have a wonderful day and Happy Crafting!


Sunday, April 3, 2011

Mini Word Book Album

Mini word book album for a Birthday Gift

My nephew Dylin was celebrating his First Birthday on April 9th, so I decided to make this mini book for him to have.

Ingredients:
6 toilet paper rolls
coordinating paper (I used "All About Boys" from DCWV in the 4x6" paper pack)
adhesive (I use my ATG gun)
random scrap craft paper
hole puncher
Cricut Machine & Plantin Schoolbook cartridge

Recipe:
Flatten the TP rolls at least 24 hours prior to starting the project, use heavy books or pans.  If you don't want to wait, use your hand-crank die cutting machine (Epic 6, cuttlebug....) to flatten them all down.  Be patient, it takes a while to get them really flat.  Choose your 6 pieces of coordinating paper to decorate the tubes.  I can't give you exact measurements here (each TP roll varies slightly in size), but you want to cut your paper down to be able to cover the whole TP roll.  You should have a little excess paper at the seam to ensure the roll gets covered completely.  Using your favorite strong adhesive, apply glue/tape to the TP roll, especially the edges (you don't want the paper to lift).  Next, I used my Cricut Expression to cut my nephew's name out at 2.5" using blue card stock I had lying around.  Then I used the "Bags, Tags, Boxes & More" cartridge to cut out the "scalloped edge" tag on page 91 (of the manual).  I cut out the tag at 2.5" and cut each tag down (in length) to fit into each slot.  I also applied each letter to the TP rolls accordingly.  Once dried, I hole punched each roll for the 1" rings to slide into.  Embellish as desired- I used stamps and die cuts I had lying around.